Secure cryptocurrencies is essential and you understood!
This tutorial will guide you step by step in order to configure your Cool wallet s and to use it correctly.
Step 0: Preliminary checks
First of all, check that the Authenticity seal Or present on the package of your cool wallet. This shows that the product is completely new and functional.

The product contains a list of accessories, make sure you have all the following elements:
-1 Cool Wallet S card limited edition Whale (whale)
-1 charger
-1 USB power cable for the charger
-1 User manual
-1 Card/memory assistant for the SEED
-1 cool wallet s sticker
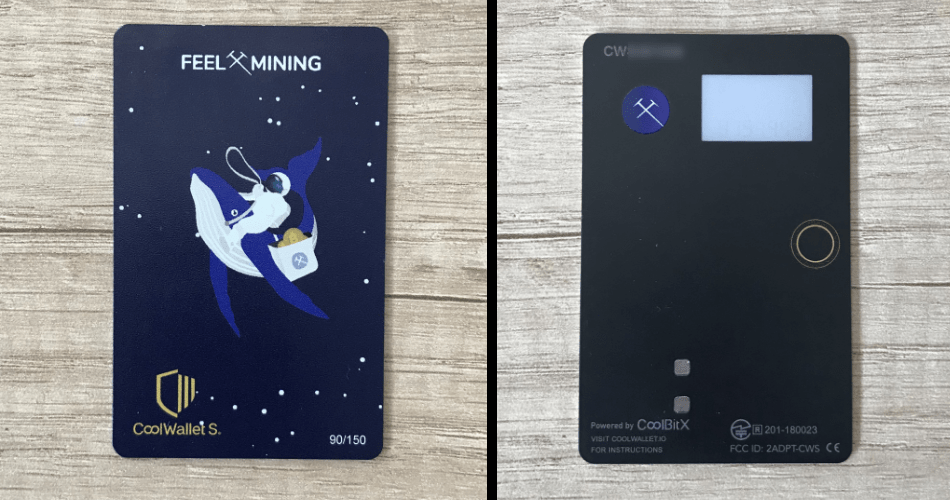
Step 1: Inspection of cool wallet s
Now let's take a closer look:
On the rear side, you will find the design of your wallet And its number according to the edition you bought. For each of the two editions, there are only some 150 copies.
At the front of your cool wallet, is:
-The serial number of your device at the top left.
-The screen allowing you to visualize your cryptocurrencies.
-The yellow interaction button with cool wallet s.
-metallic squares on which the device is loaded.
Step 2: ignition and pairing of cool wallet s
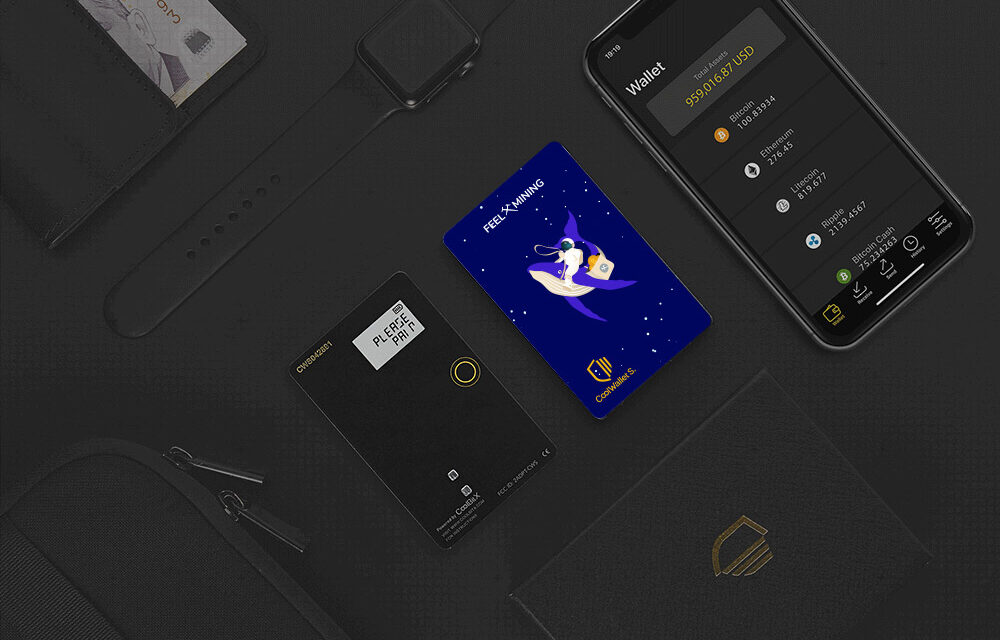
Unlike certain Brands of Cold Wallet, the cool wallet S works with a mobile application. So you can manage your cryptos at any time from your phone.
Scan this QR code To download the cool wallet app.

Once the application is installed, you can start the configuration of your wallet.
Start by turning it on: to do this, press the yellow button On the front of your wallet. This should light up after 3 seconds.
If this is not the case, insert your card into the slit of your charger, then let it connect to a USB socket during 5 to 10 minutes in order to recharge it.

Once your wallet is on, you must pair it On your phone to have it interacting with the application.
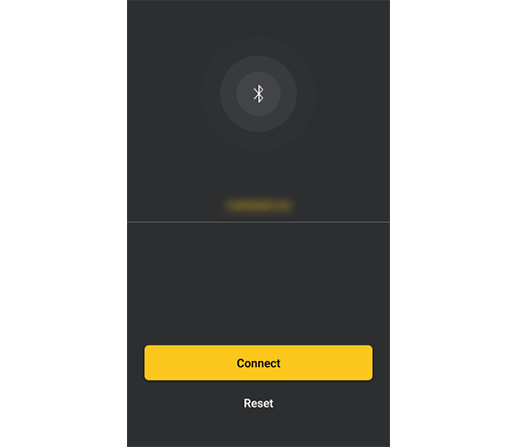
Click on the ” Connect ».
It is likely that the application asks you to make an update, it only lasts 5 minutes and allows you to start with a wallet at the good version.
Step 3: Creation of your wallet
Your cool wallet has paired and your application is now up to date. You are ready for the third step: the generation of your private key.
For this your wallet will generate a seed.
A seed is a series of words that contains access to your private key.
In the event of loss of wallet, you will need to enter your Seed to recover your funds.
Click on the ” Create To create a new portfolio and generate a SEED.
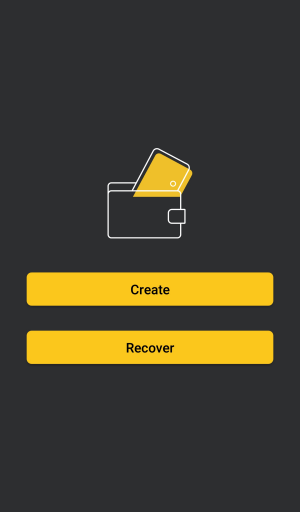
The application offers you to generate your seed in two different ways:
-The first via the application (faster but less secure).
-The second via the map (longer but more secure).
We strongly advise you to choose the second option which is much more secure. The generation of your seed is done on your cool wallet s which is not Internet connected.
You can also choose the number of words that make it up, we also advise you to choose to generate a seed to 24 words.
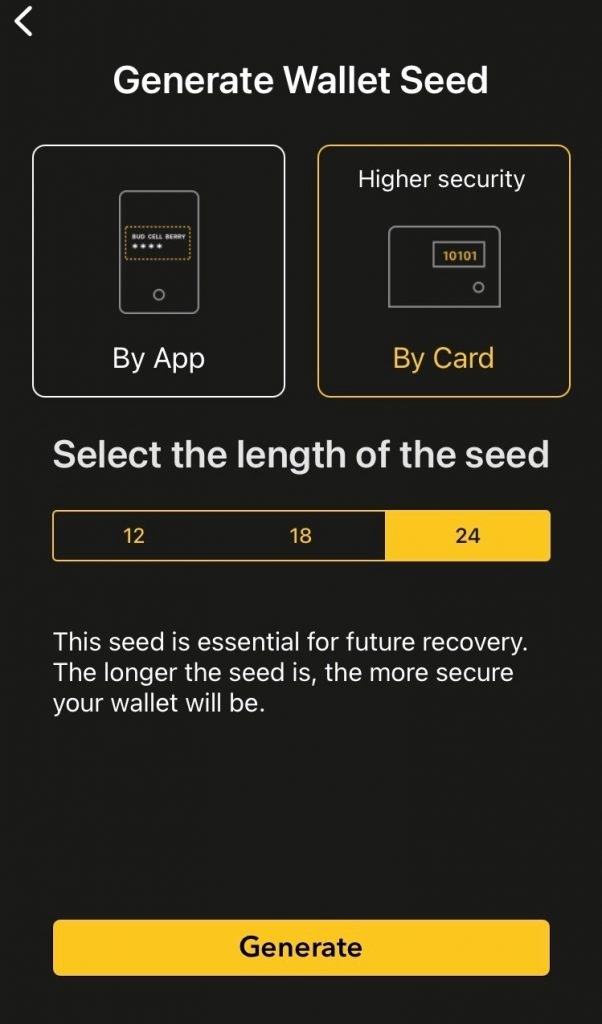
By clicking on the button “Generate”, Your cool wallet s will display on its small screen a series of 24 numbers Composed of 5 digits each. You must note them on the two small cards provided in the box.
Please note: your SEED guarantees access to your wallet, be sure to store it in a safe place.
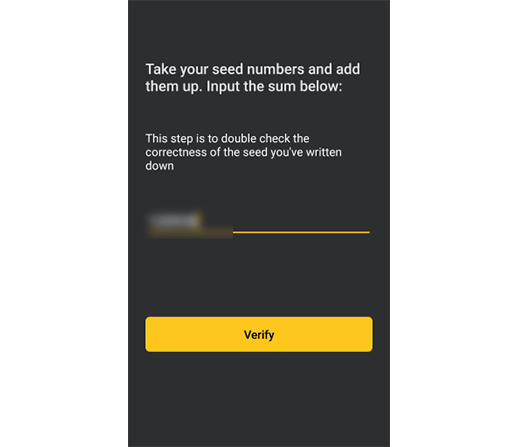
Once this tedious but necessary operation has been carried out, Validate your seed By entering the rest of all numbers in the application.
Congratulations, your portfolio is now created! You can now send and receive cryptocurrencies on your cool wallet s.
Step 4: Prepare your dashboard
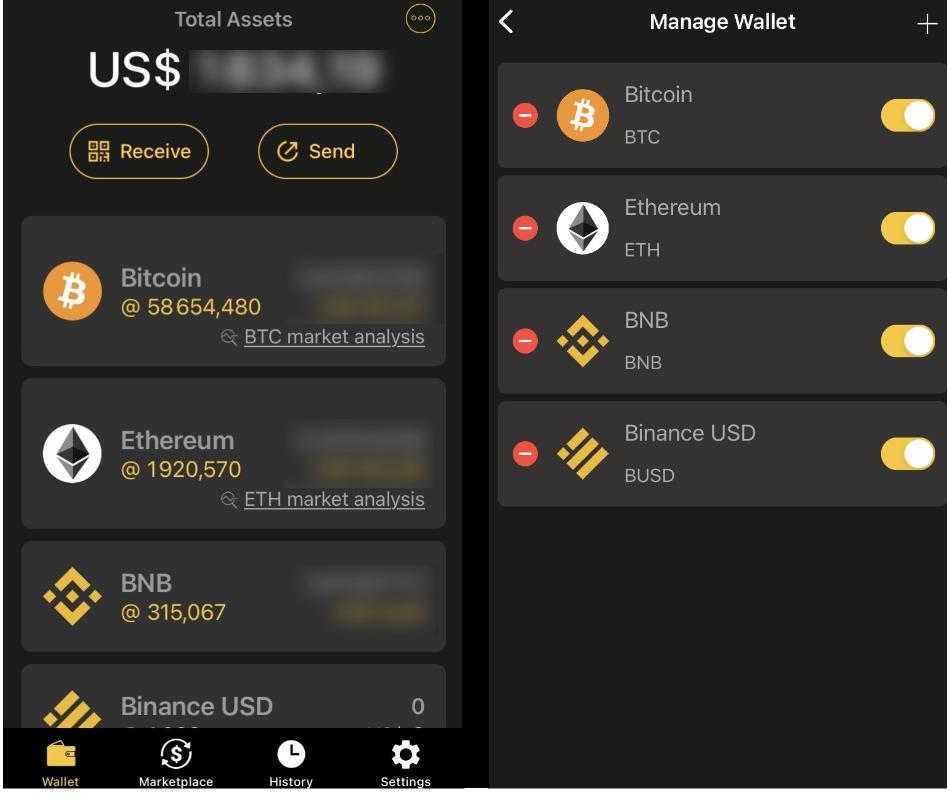
The application works with a system Adding/withdrawal of cryptos. When your wallet is created, you must add Cryptocurrencies inside your dashboard.
Just select the cryptocurrencies you want to send/receive.
If you have accidentally passed this step, click on the ” … “At the top right of the screen then click the” + “button to add a cryptocurrency.
Step 5: Receive cryptos
Now that your dashboard is properly configured, click the “” Receive »To place cryptos on the cool Wallet S.
By default, the application selects your address Bitcoin as a main address address. To change cryptocurrency, click the yellow “BTC” button.
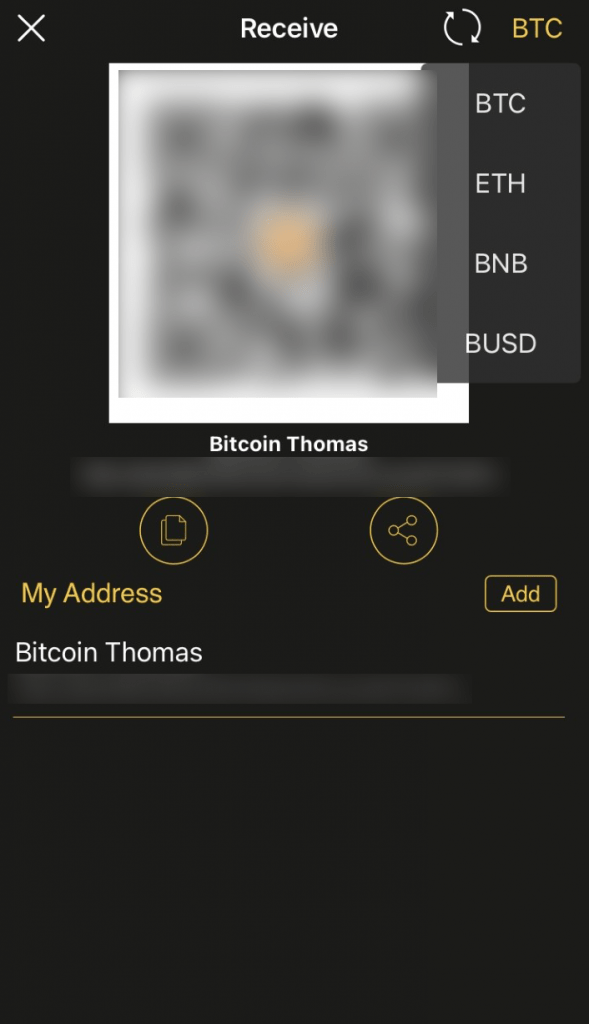
Your address will be displayed in two different ways: via a QR code or via a series of figures. These two methods correspond to your only and same address.
For more confidentiality, you can click on the button ” Add To add a second address.
Step 6: Send cryptos
To send cryptocurrencies, click the ” Send “Besides the button”Receive”.
As with the receiving function, your Bitcoin address is displayed by default. Click on the ” BTC To change cryptocurrency.
Take the amount you want to send in the indicated field and click the ” Next “, As well as on the button” Confirmation ».
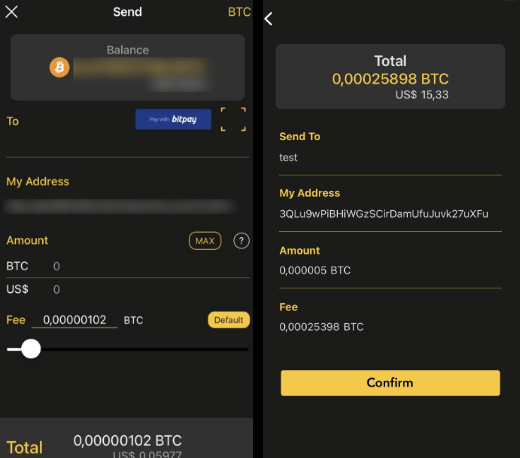
Once done and if your application is always connected to your Cool walletthis one will display the summary transaction on its screen. You can therefore check if the destination address is the right one.
Once you have checked everything, press the yellow button of your cool wallet to validate the transaction.
Validate transactions on your wallet adds significant security. In case of hack of your phone, the hacker cannot “siphon”Your cryptos.
Most
The part ” Marketplace »Allows you to access a panel of applications allowing you to exchange your cryptos, to connect to decentralized applications and many others. Navigate this tab to discover all novelties !
This tutorial is now finished, you can now take advantage of your cool wallet as it should be, we thank you for your order!
If you have any questions, do not hesitate to come and ask them directly on our online cat open from 9 a.m. to 5 p.m. Monday to Friday.
Gael
My favorite subjects? DEFI and Ethereum ecosystem. In the cryptos since 2019, I hope to send you my passion and make you want to explore this technological revolution through my writings.


